Images can be added to a WordPress post or page with the image block. The image block allows for the alignment, size and caption of the image to be set.
There are two parts to adding an image to a WordPress post:
- Uploading of the image to the Media library
- Add image block to page/post
When creating a new WordPress post I like to prepare my images first.
I like to make my image names related to the page name and descriptive of the image purpose. It’s good for SEO and adds clarity when viewing a directory of images. I group images by making the stem of the name the same, relating to the post upon which they will be used.
Keep your images to a moderate size, below 2500px on the longest edge. Don’t forget to rotate the image as necessary, just to be sure that when viewed it won’t be rotated. Many devices, tablets, phones and computers automatically rotate an image. Not all do, sometimes resulting an image shown on its side. Automatically work through a directory resizing and rotating images with XNConvert.
Images are managed from the Media page on the black left hand menu. Upload the images to the WordPress media and add suitable meta data text.
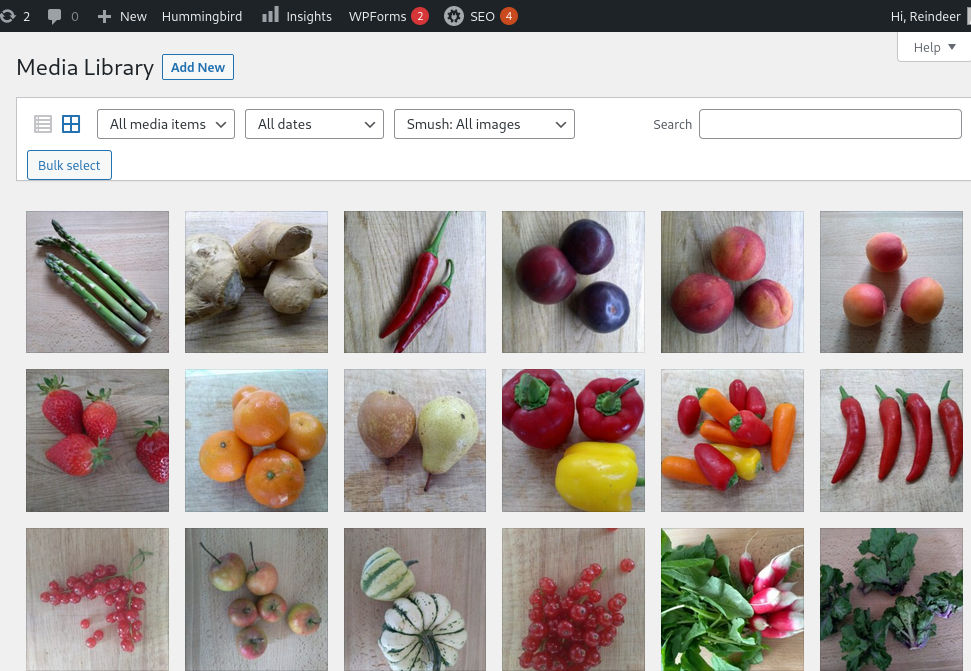
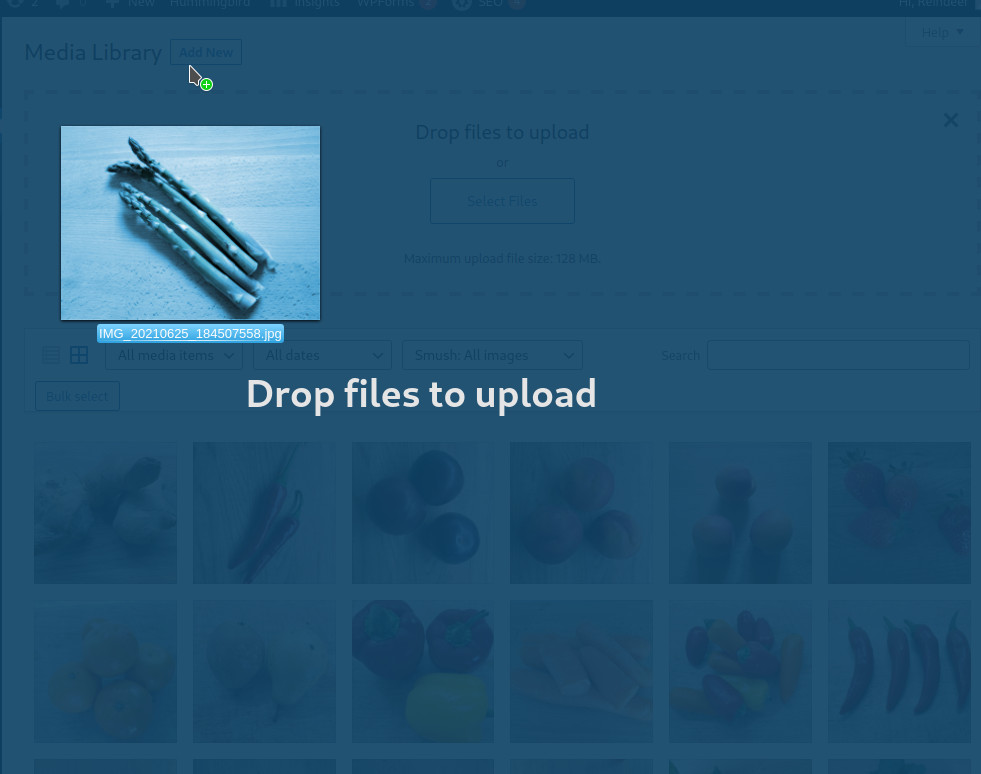
Click on the Add New button at the top of the page. An image can either be dragged from a folder onto the page, or a selection made.
With the image uploaded add text for the fields: Alternative text, description and title. Keep the text length succinct, and descriptive of the image’s purpose. Don’t simply say raspberries!

The text within these boxes should describe the purpose of the image and the context which it is being used. Better to incorporate words from the post title, together with the image purpose. It’s the text which is to be shown as captions and/or the alternative text when the image is missing or when verbally spoken by a screen reader.
The image is added to the page with the image block.
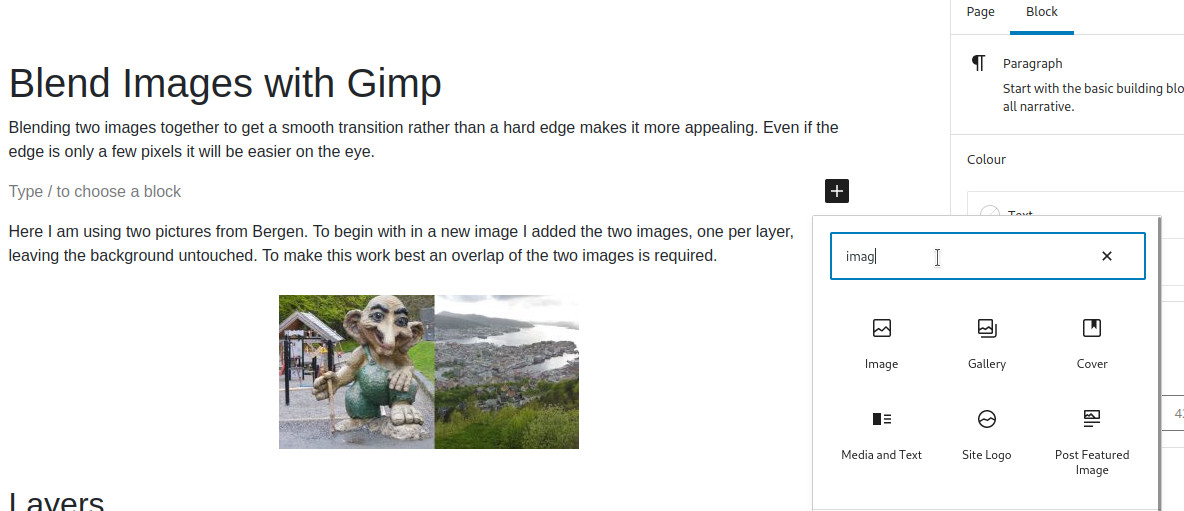
Click at the end of the paragraph and press return to add a new blank entry. There’ll be a plus sign at the end. There’s also a blue backed plus sign at the top right above the content being added. Clicking on either of these shows the available blocks in a popup. These are the most used. Either select the image block or enter image in the search box.
The options for the added image block are in the popup icon menu bar and in the block actions in given in the column on the right.
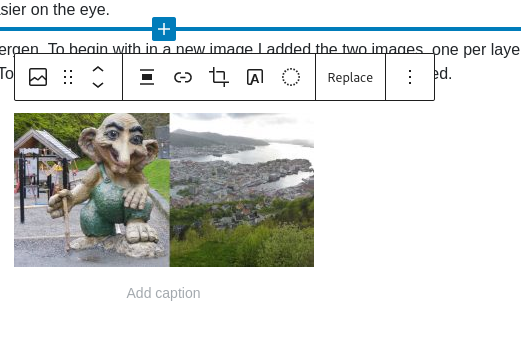
The popup icon menu bar offers:
- Change alignment – the image can be left, right or centre aligned. Also it can be set to occupy the width of the content column.
- Edit link – add a link to the image, either to the attachment page or to the media file. Linking to the media file can be used by lightbox plugins to indicate and use a lightbox style popup of the image.
- Crop – I prefer to create an image with the correct size.
- Add text over image – to remove this one select from the popup icon menu type of image. This effect is called cover.
- Apply duotone filter – Again I prefer to colour the uploaded image. this is more useful where the same image is used multiple times.

The right hand menu provides option to:
- Styles – generally better to leave this as square
- Alt text – This is the text which is shown if the image is missing.
- Image dimensions – leave the default, showing a larger image or select a medium sized image and let the lightbox plugin create a popup of the larger size of image.
- Advanced – options under this section can generally be left alone.
I like to position my image centrally within the content and a medium size. A medium size doesn’t swamp the content on a smaller screen. And on a larger screen there’s a lightbox popup should the visitor wish to see the image larger.


