Add background colours to a full width stripe on a web page using WordPress’ Gutenberg editor and the Bootstrap CSS framework.
Colouring the background of sections of a webpage can be a great way to add more impact to the page. The different colours bringing clarity to the different sections.
Creating full width stripes in WordPress Gutenberg with padding following the Bootstrap, a front end framework, container rules

To create the stripes above I’ve used two Gutenberg column blocks, one inside the other. and then added images, paragraph text and headers.
In this post I’ll create a third stripe below the two shown.
Having experienced loss of internet connection and associated loss of entered content I like to update/save content frequently. Don’t wait until you have entered all of the above before saving!
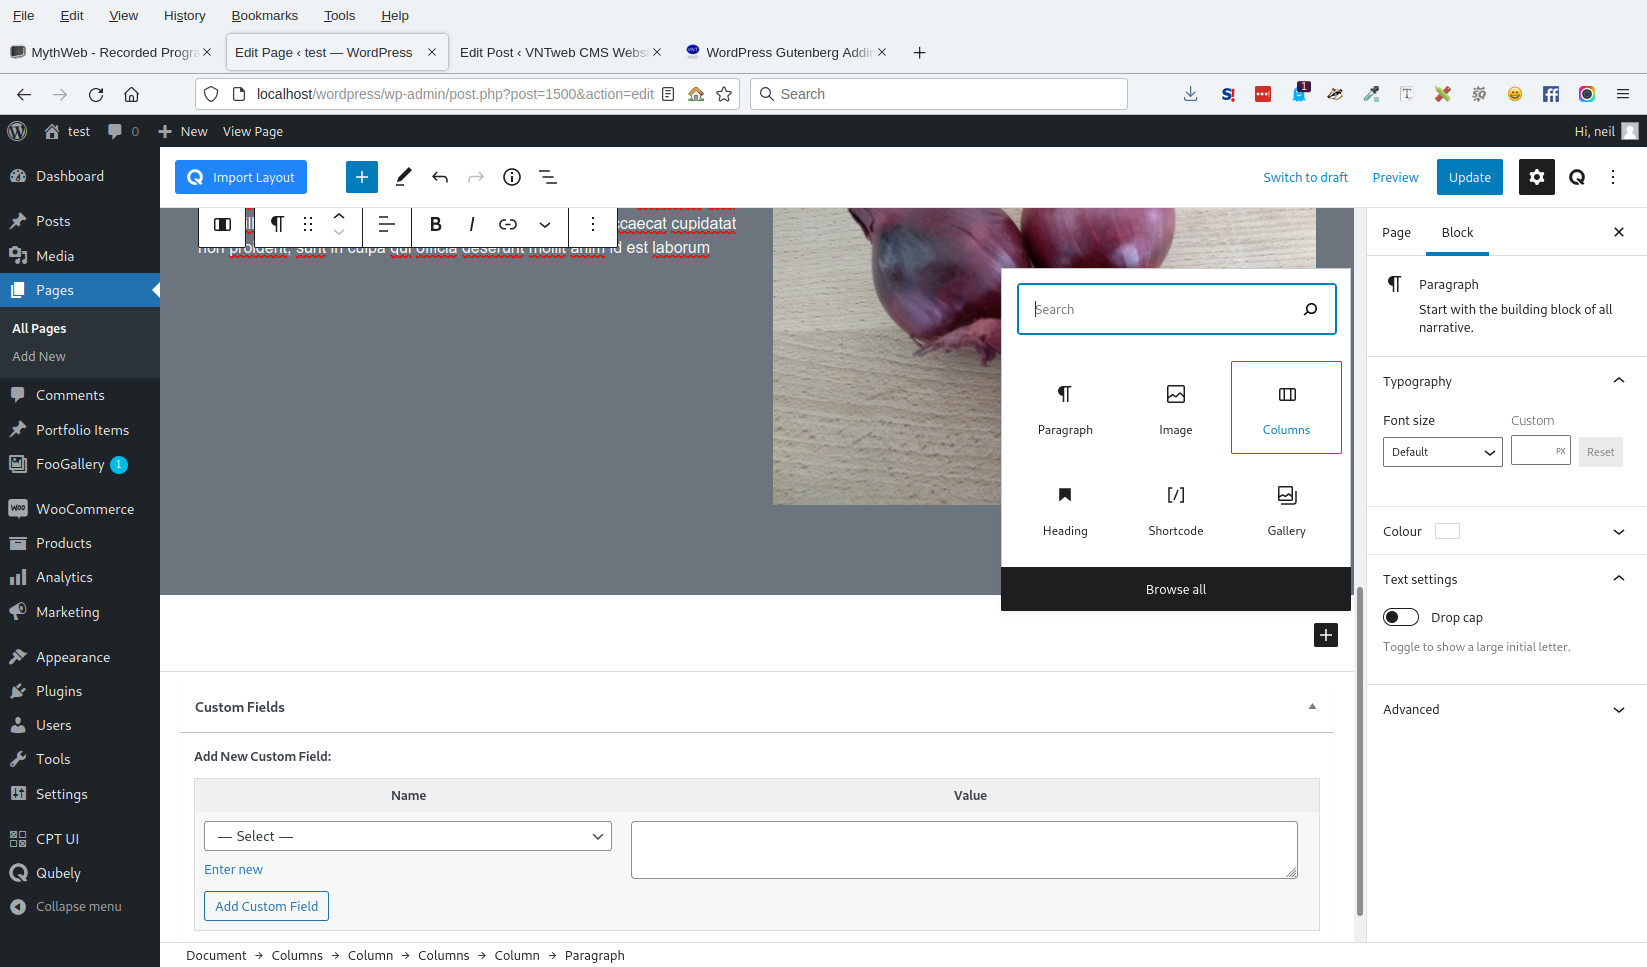
Add a new block of type column after the existing two stripes.
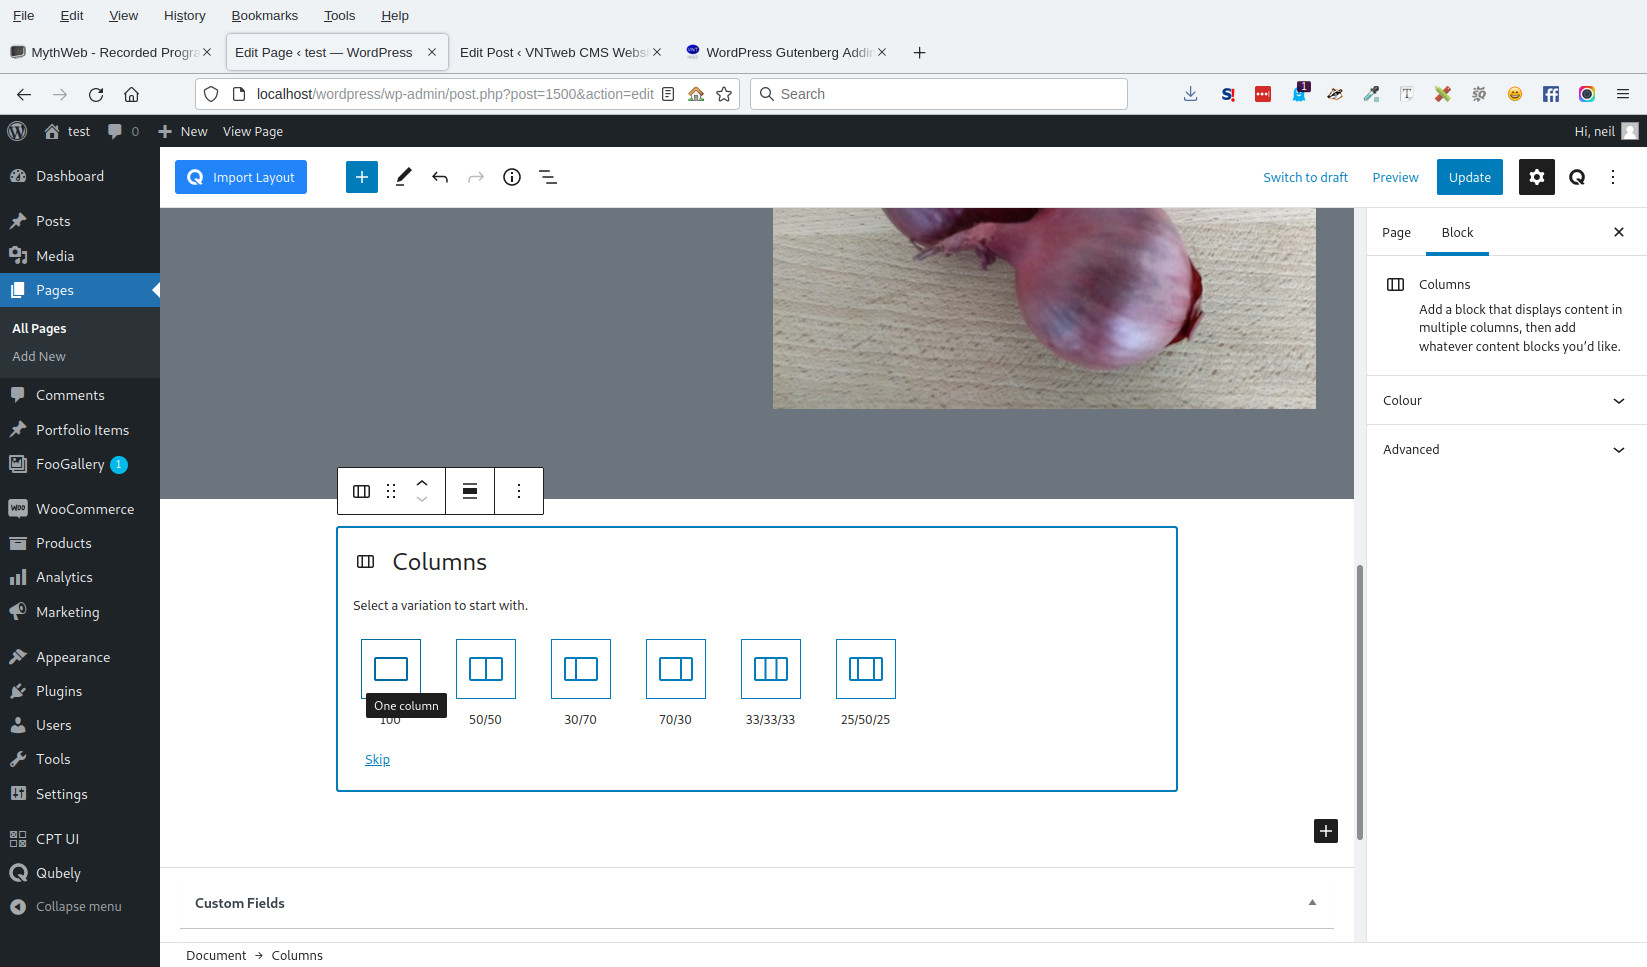
In the pop-up dialogue select a single column of 100% width.
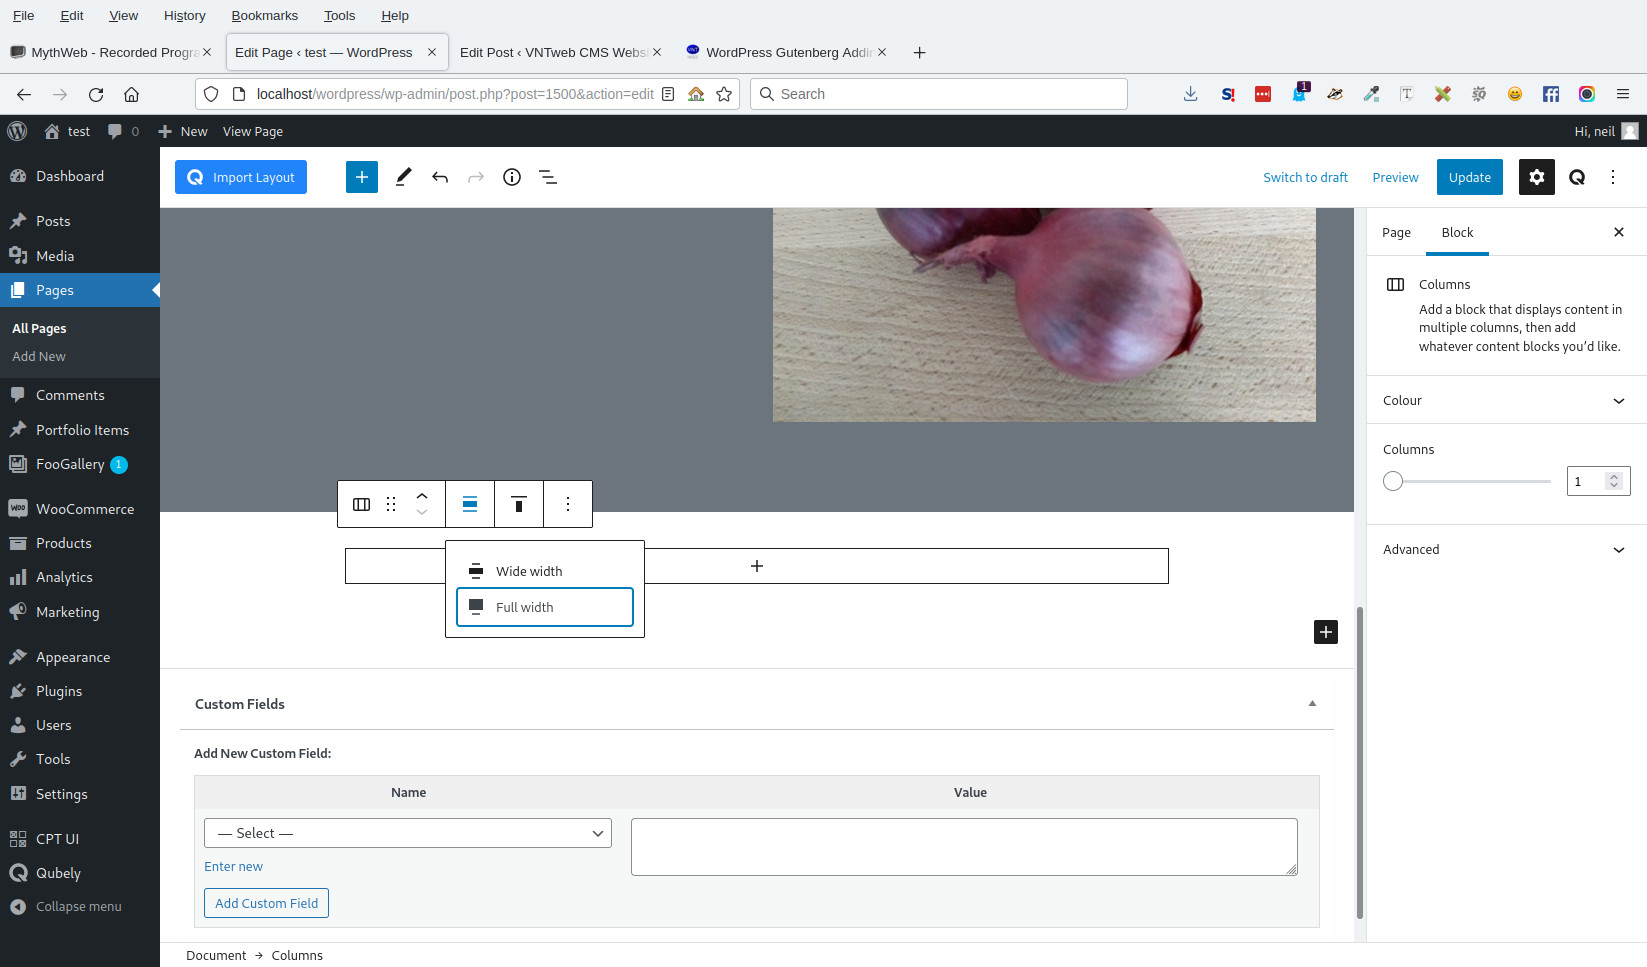
From the pop-up dialogue choose Full width layout.

The above image shows the selected layout has a blackened border when its viewed again.

The column will be given a coloured background. Select this from the right hand block menu settings. This can be simplified with CSS classes. Read on to the end to find out how.
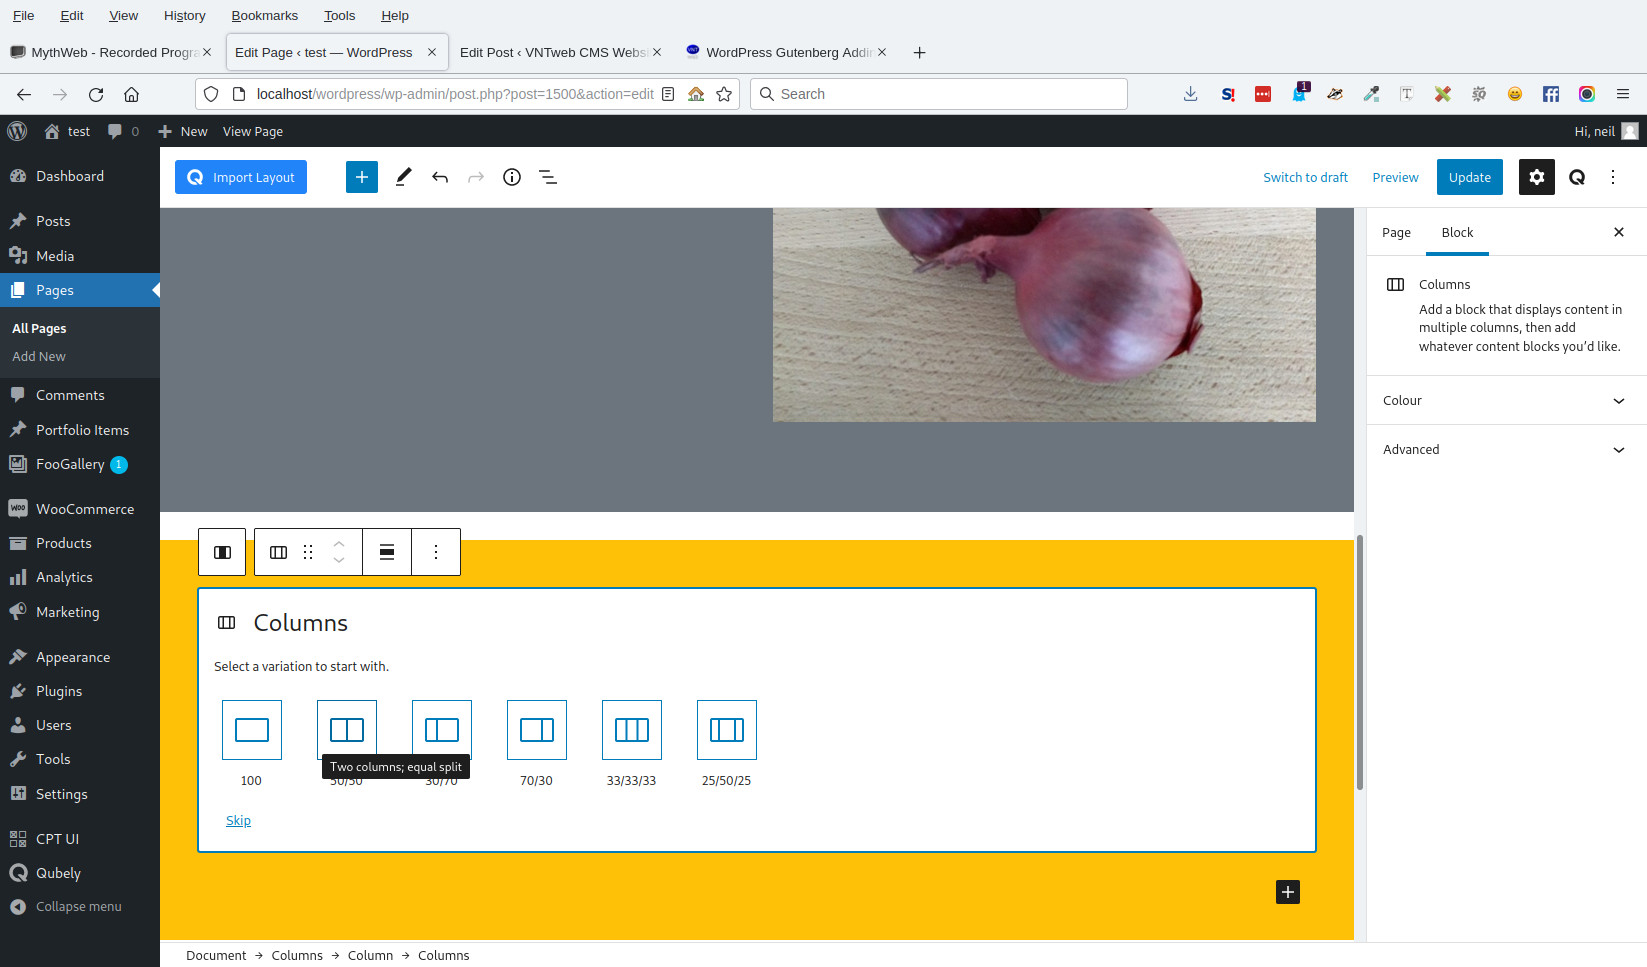
We’ll add content inside the single columns block. Click on the plus symbol to add a new block within – a two column block inside. This will take our content in the usual way. And importantly it will be configured to mimic the width and alignment of the other “normal” content on the page.
Further items such as paragraphs and titles can be added here in the usual content way.
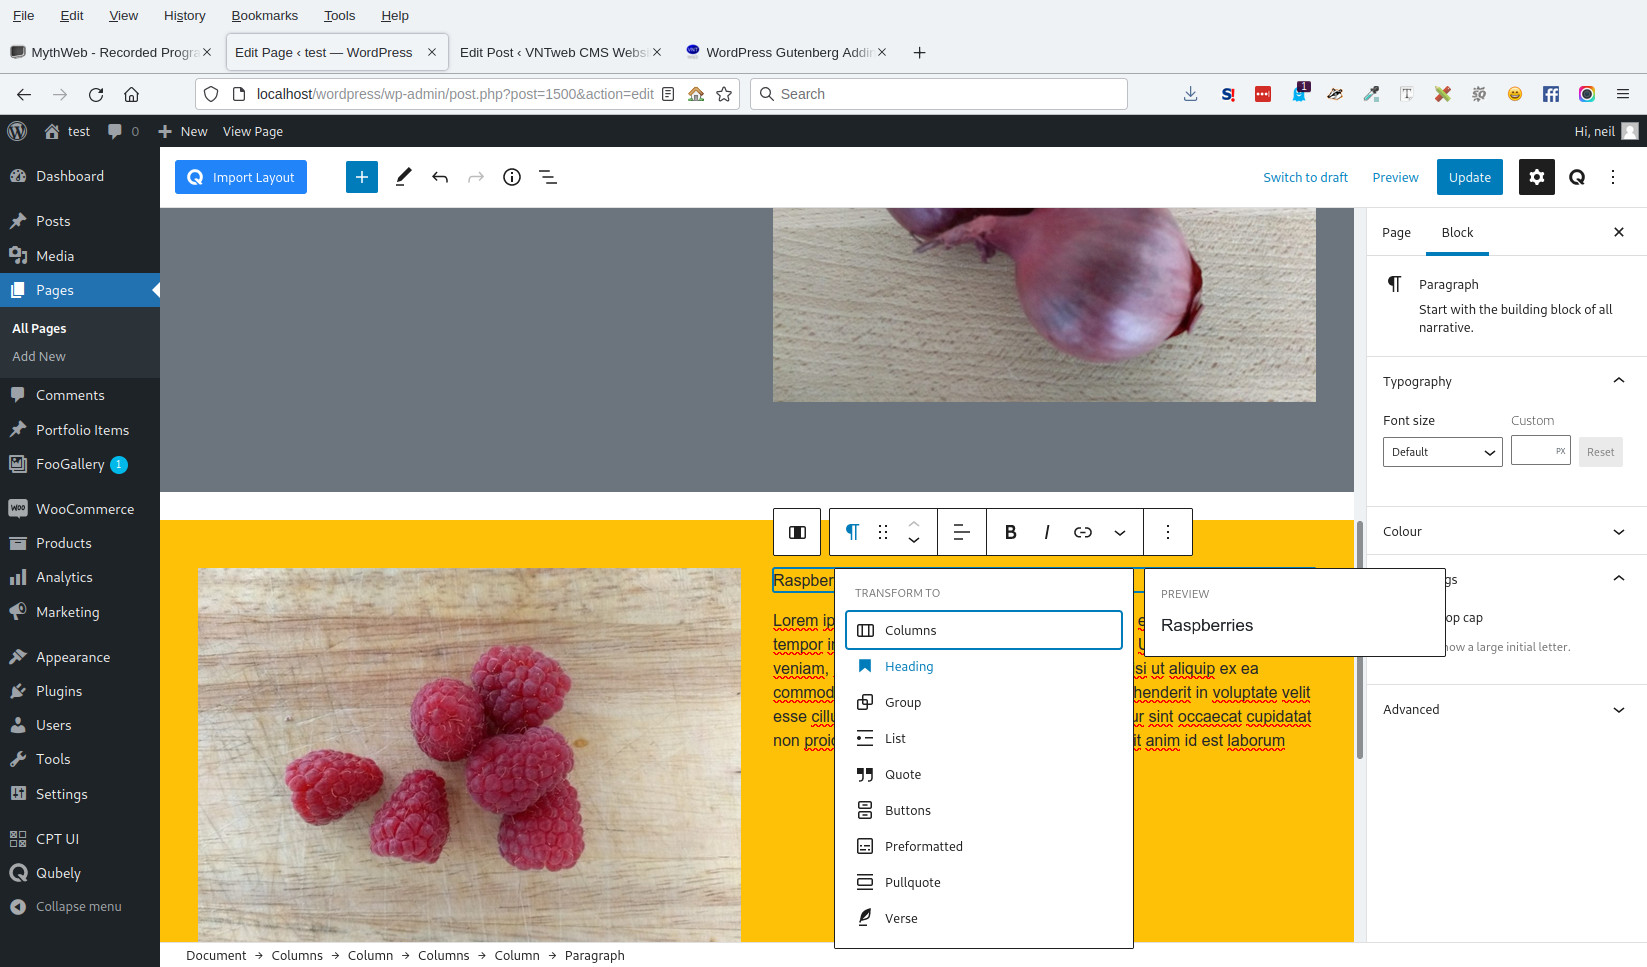
With the columns block added (configured to be 50:50 two columns) add content in the left and right columns.
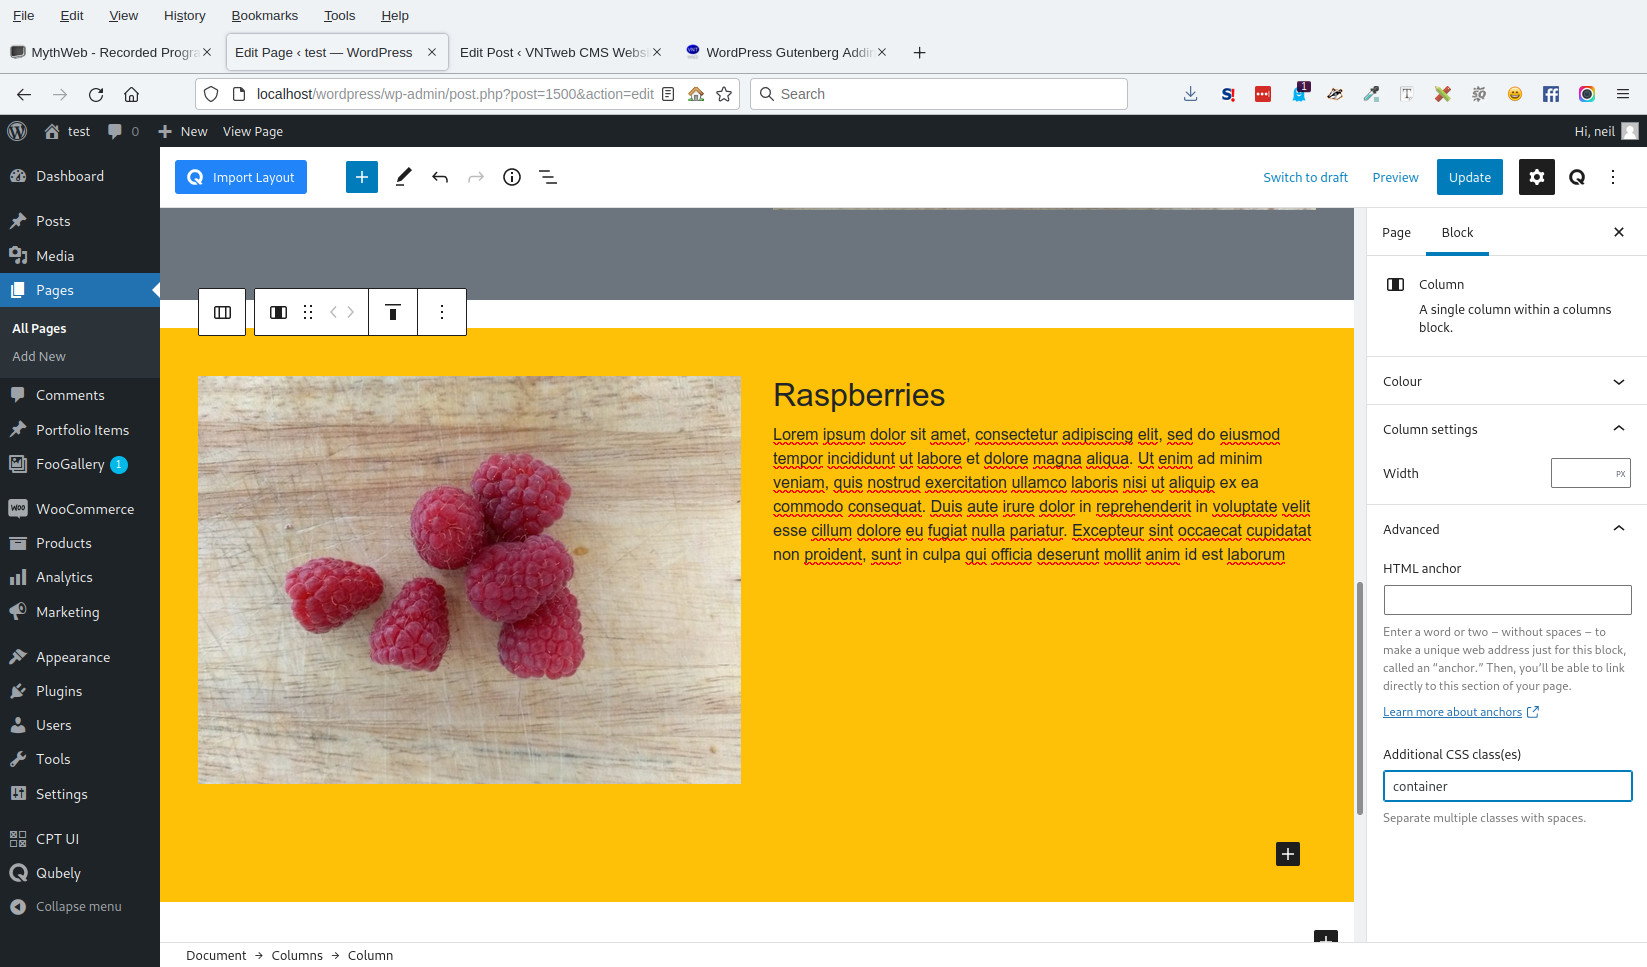
To ensure that the content of this inner columns block aligns with the page content a CSS class will be added. On the right hand menu expand the lower Advanced section to show options for HTML anchor and Additional CSS class(es). In this textbox add the text container. Save your page update.

To achieve the above we’ve nested blocks within each other.
If you click within a block in the stripe you can navigate to the outer wrapper. At the bottom of the browser there is a breadcrumb showing the current nesting of the cursor location. To change the class added to the inner column block it can be accessed by clicking on the entry for Document > column > column.
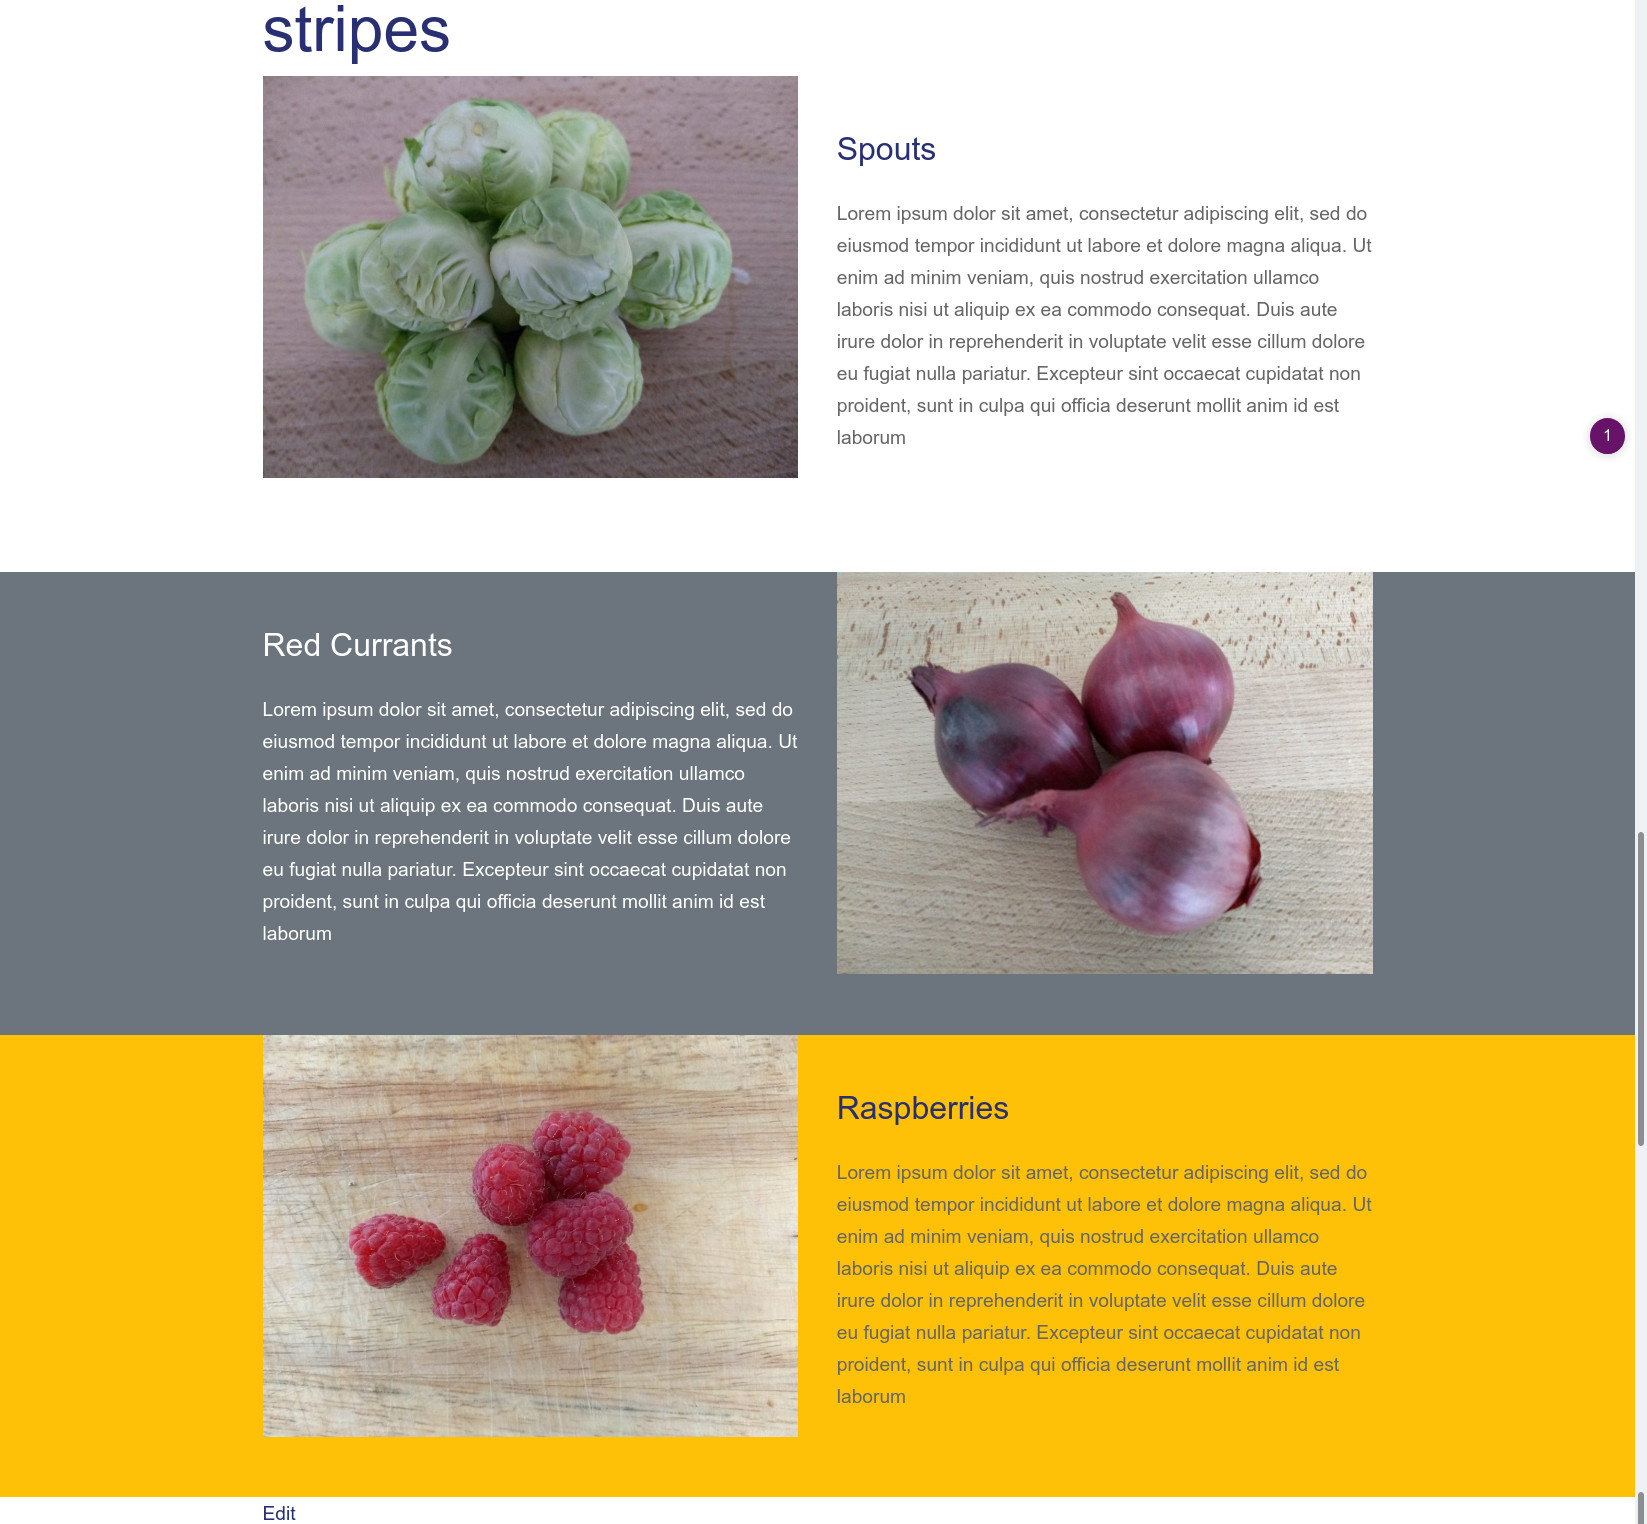
Shown above is the updated page with three stripes of content.
Using the Advanced block CSS Classes setting its possible to use a class to define the background colour, font colour and other presentation with the application of a class. This makes for consistency and ease in implementation. No need to select and set the background and font colours.
I used an example of this recently creating two library classes to define the background and font colours for a customer. I used blue-background for rows with a blue background and white text, white-background for the intermediate row.
.blue-background{
  background-color:#366784;
  color:#fff;
}
.blue-background h2{
  color:#366784;
}
.blue-background a,
.blue-backgrounda:visited,
.blue-backgrounda:link {
  color:#fff;
}
.blue-background a:hover,
.blue-background a:active {
  color:#fff;
  text-decoration:none;
}
The above can be expanded to further customise the row.
In this post I have illustrated using WordPress’ Gutenberg blocks editor to create stripes on a page. With the use of a single column block, set to full-width and an inner column block to provide the padding.


