Create a new PayPal account or upgrade an existing account to receive payments from your website.
PayPal facilitates the secure purchase of products and to receive the online payments from a website.
A PayPal account is required to accept PayPal as a payment method on your behalf.
How to create a new PayPal account and to upgrade an existing personal account to accept payment for items for sale on your website.
This article considers the different account types. A personal account is created and subsequently upgraded to Business Standard and configured to accept online payments.
Account Types
PayPal offers 3 account types: a personal and two business orientated accounts.
- Basic
- Business Payments Standard
- Business Payments Pro
PayPal provides a page with a comparison table of these different account types.
Note – the old premier account is now re-branded under as the Business Payments Standard account.
Personal Account
The personal account is recommended for individuals who shop online.
Consider the personal account as a means to pay money, as opposed to collecting money.
Business Standard Account
For those who wish to sell items on the Internet, associating their website with PayPal this type of account is appropriate for occasional sales.
This account has no standing monthly charge, a percentage of the sale value is payable.
The business standard account allows redirect back to the website and association with the website as opposed to the user.
Business Pro Account
The business pro account is recommended for merchants.
The account is suitable for sites which operate under a company name, providing facilities to limit a large number of employees access with email aliases.
Transactions may also be taken with a card reader (Additional fee payable).
For many websites a business account type will be unnecessarily complex. The account requires an initial review of the website and ongoing compliance with the PCI standard.
Most websites hosted on a shared server won’t be able to meet this standard, as the server has a number of generic features available for the hosted websites.
There’s a summary comparison of the solutions Business Pro and Business Standard accounts.
Creating a New Account
On the PayPal website home page there is the option to login to an existing account. And, the action we’re interested in, to Sign Up.
Click on the Sign Up button at the top right corner. The page changes to offer the options to create either a business or personal account. Select personal and click on Continue.
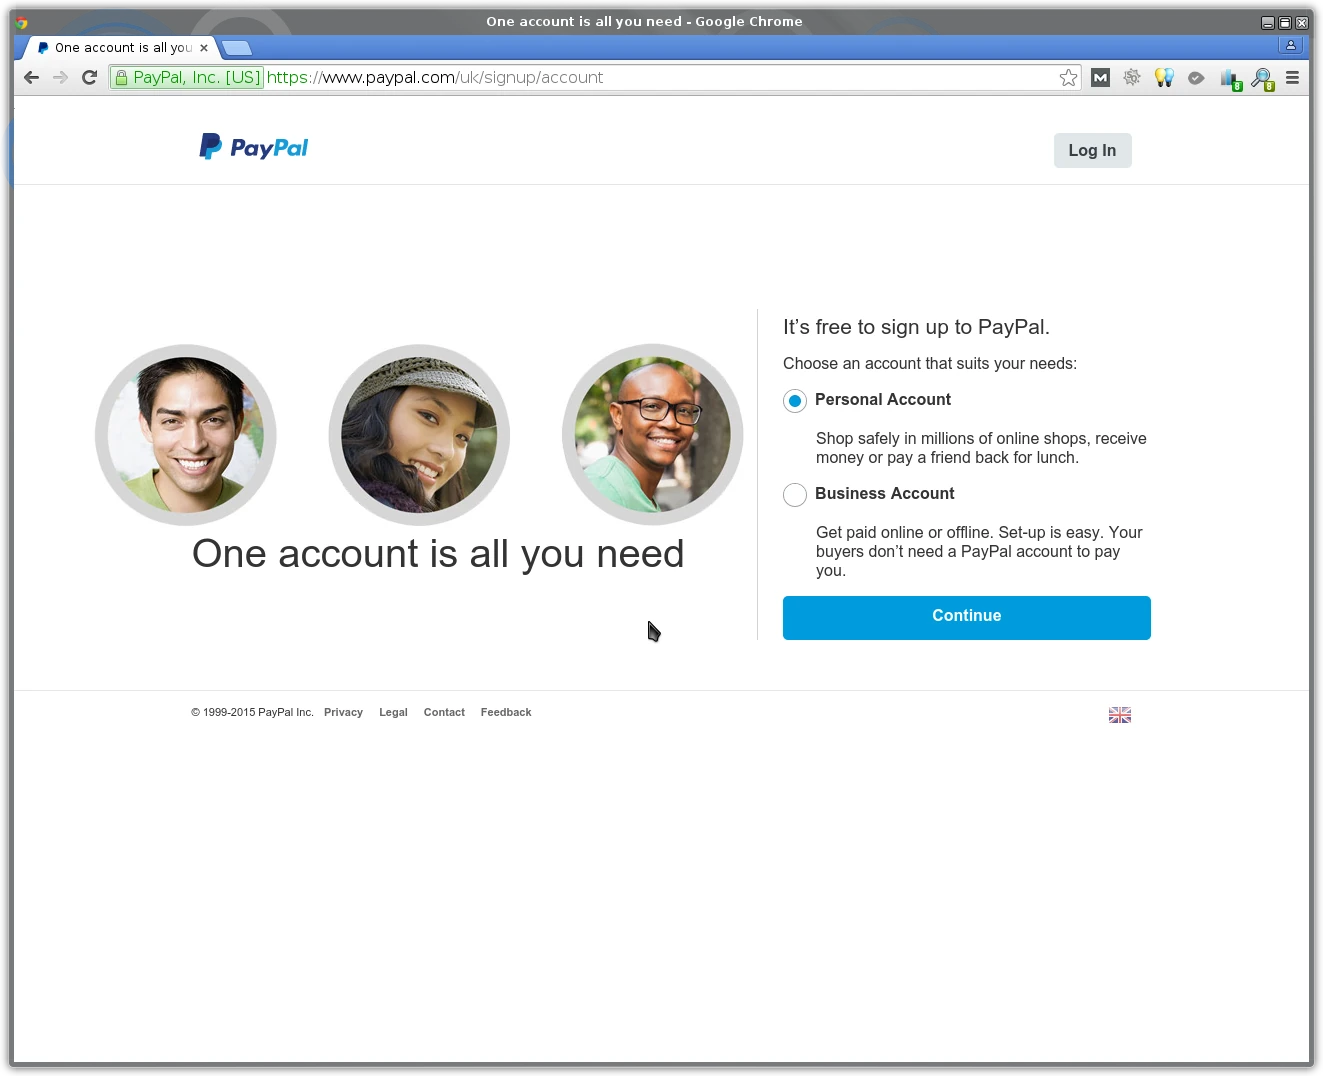
Click on the radio button for a Personal Account and click on the Continue button below.

Enter your chosen email address and your password twice. To ensure that you are entering the correct password and typing it correctly, you may prefer to type each password entry.

On this next page enter your details. A number of the fields are required. Review the PayPal terms and click on the button Agree and Continue.
PayPal sends an email to the given address with a link to be clicked to confirm that this was entered correctly.

On the next page details are taken for an associated credit or debit card.

Wishing to use the account to receive payments from a website only I skipped this step, clicking on the PayPal logo. Finally a summary of the newly created account.
Account Administration
Following the account creation I was viewing the Account Summary page. This is also the page shown when logging back into your account.
The dark blue bar with actions to be taken can be closed by clicking on the cross in its top right corner.

From this page either click on the gear, top right alongside the Logout button, or complete or manage one of the other options available.
Change Email Address
Its possible that you setup your PayPal account to enable testing a new website prior to launch. Once the website is live the correct domain will be used and the email address changed to this.
Click on the gear icon at top right to access your account profile.
On the MyAccount page there is an Email address section.
Click on the plus sign to add a new address, or click on the Edit link alongside an address to edit it.
The primary email address shows a message This is your primary email address. Unfortunately, you can’t edit it.
If you have more than one confirmed email address you are able to change your PayPal primary email address.
Click on the Edit link for address which is to be your new primary.
On the next page tick the checkbox for Make this my primary email address for receiving notifications and click onMake this my primary email address for receiving notifications.
The original primary PayPal email address can now be deleted. You have changed your PayPal email account address.
Bank Account Integration
To use the PayPal account for the collections of monies an bank account is required.
On the blue banner there is an action to Add bank account. Scrolling further down there is also a section titled Bank accounts and cards.

Either click on the second of these and then Add bank account, or click on one of the two Add bank account links on the page.


Complete the details for the bank which you wish to associate with this PayPal account.
PayPal sends two random payments to the account. The values are small and can take 2 or 3 days. Once received return to the website to confirm the details.
Seller Preferences
Either click on the cross to close the dark blue banner of actions or simply scroll down and click on the Seller preferences link within the section Selling Tools.
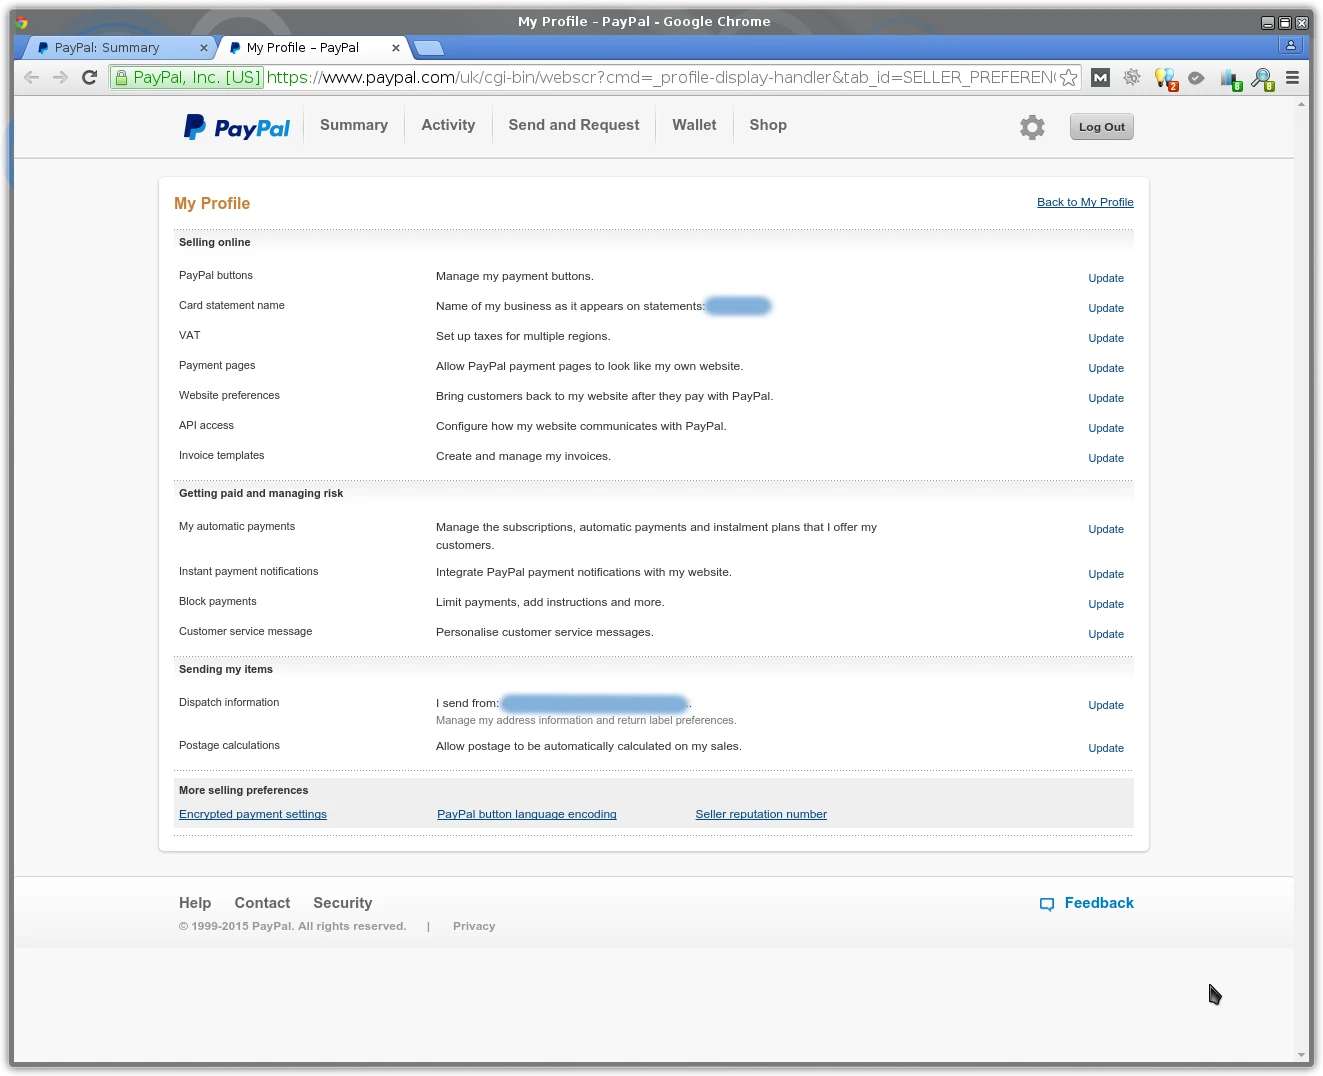
On the seller preferences page click on Website Preferences to configure the return pages on the website,

On this page select Auto Return On, add a Return URL (The page thanking the website visitor for completing the transaction) and set Payment Data Transfer to On.
Click on Payment Pages to upload a template, making the PayPal payment page look like your website.
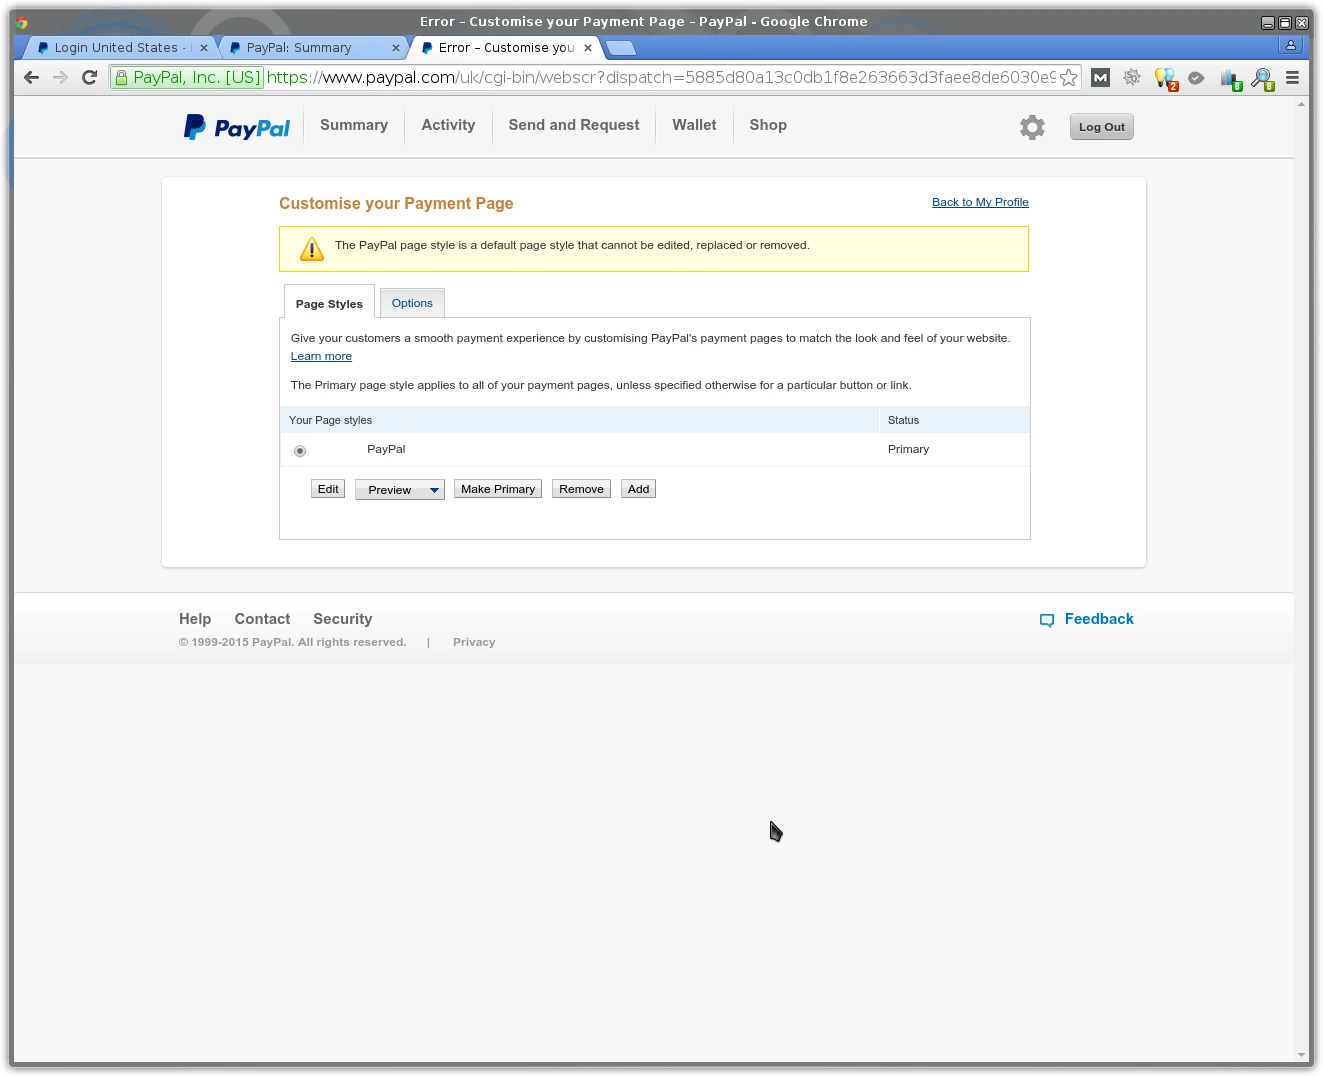
On this page click on the Add button at the right end of the row of buttons.
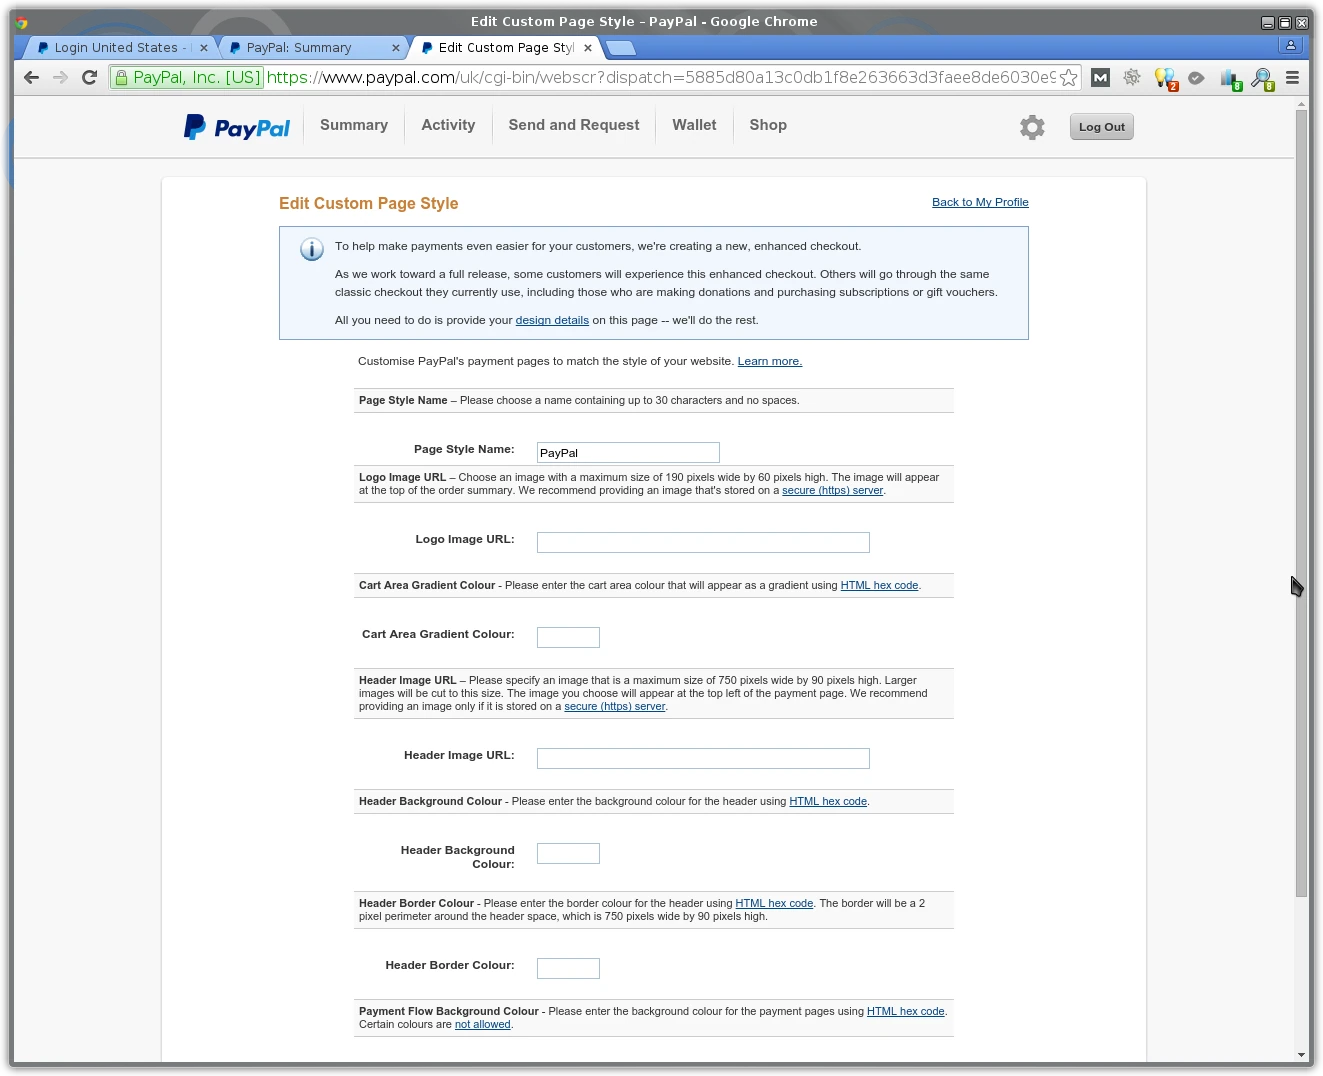
Complete the entries adding colours and images, derived from your website.
Get paid on Your Website
On the top row click on the Shopping link. This opens a new web page. On this page click on the Business tab at the top.
Click on Get started to popup a choice between creating a Payments Standard account or a Payments Pro account. Click on Get Standard.
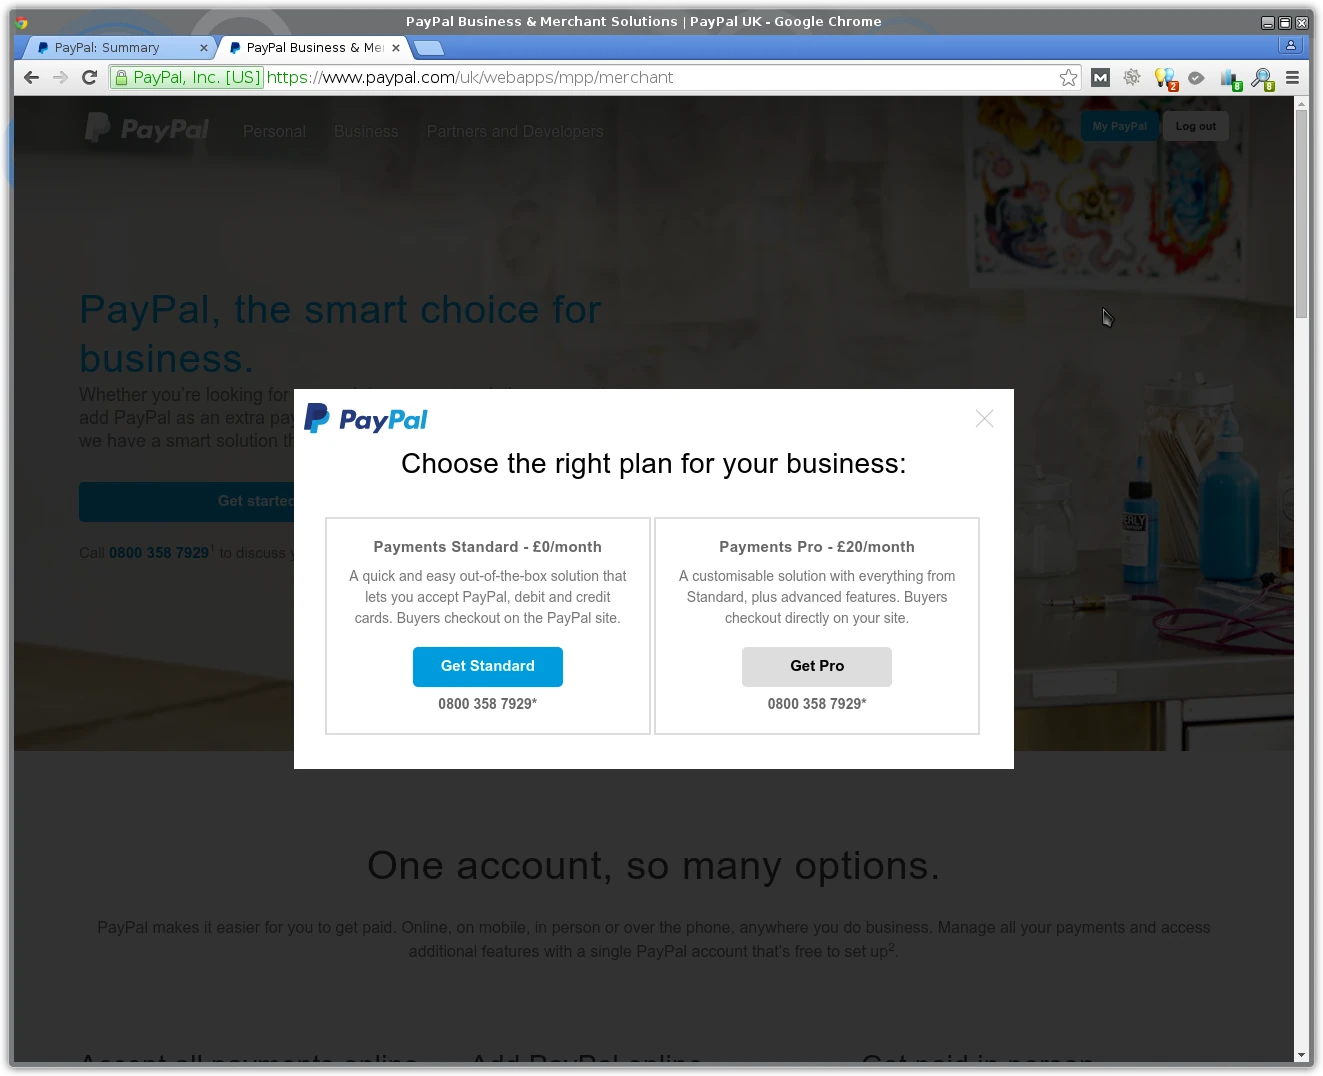
The next page offers the choice between upgrading the current account or creating a new one.

To proceed click on the option to Upgrade. The next page asks for a company name, offers phone and address details for review and edit and a confirmation of the acceptance of PayPal’s terms. Click on Agree and Continue.

The following pages ask for information about:
- the business: the type; category; sub-category and the website URL.
- the owner’s address

Select the option to take payment on your website. The wording suggests that PayPal is integrated within the website. However, following the earlier selection the payment will be actioned on the PayPal website.

Legal Requirements
After making the payment on the PayPal website the customer maybe returned to the website, either to a transaction completed page. PayPal has requirements for this page regards content which must appear.


