There are two approaches to editing the settings of an Outlook mail account: the more obvious one following the Outlook presentation and the less obvious approach, via the old control panel.
For this blog post its assumed that Outlook on Windows 10 has been configured and working but the references for the mail servers are to be changed, or the port numbers used are to be changed, perhaps 25 to 587.
Lets start with the standard outlook account settings.
Outlook Account Settings

Shown in the image above is Microsoft Outlook on Windows 10. General mailbox view.
The left mailbox menu view has been scrolled to bring the account which is to be amended into view.
Right click on the account name and select Account Properties from the popup menu.

Click on the large Account Settings box. On the opened menu click on the first listed item Account Settings. A popup window is shown listing the different accounts configured.

Single click on the repair icon

Expand the Advanced options to select the checkbox for “Let me repair the account manually”.
And click on the big blue Repair button.
The next window is split into two parts. Expand each section in turn.

In the upper section is shown the incoming mail account settings.

And in the lower section are the outgoing mail settings.
Enter your details and click on the blue Next button.
The window changes whilst the configuration is tested and implemented.
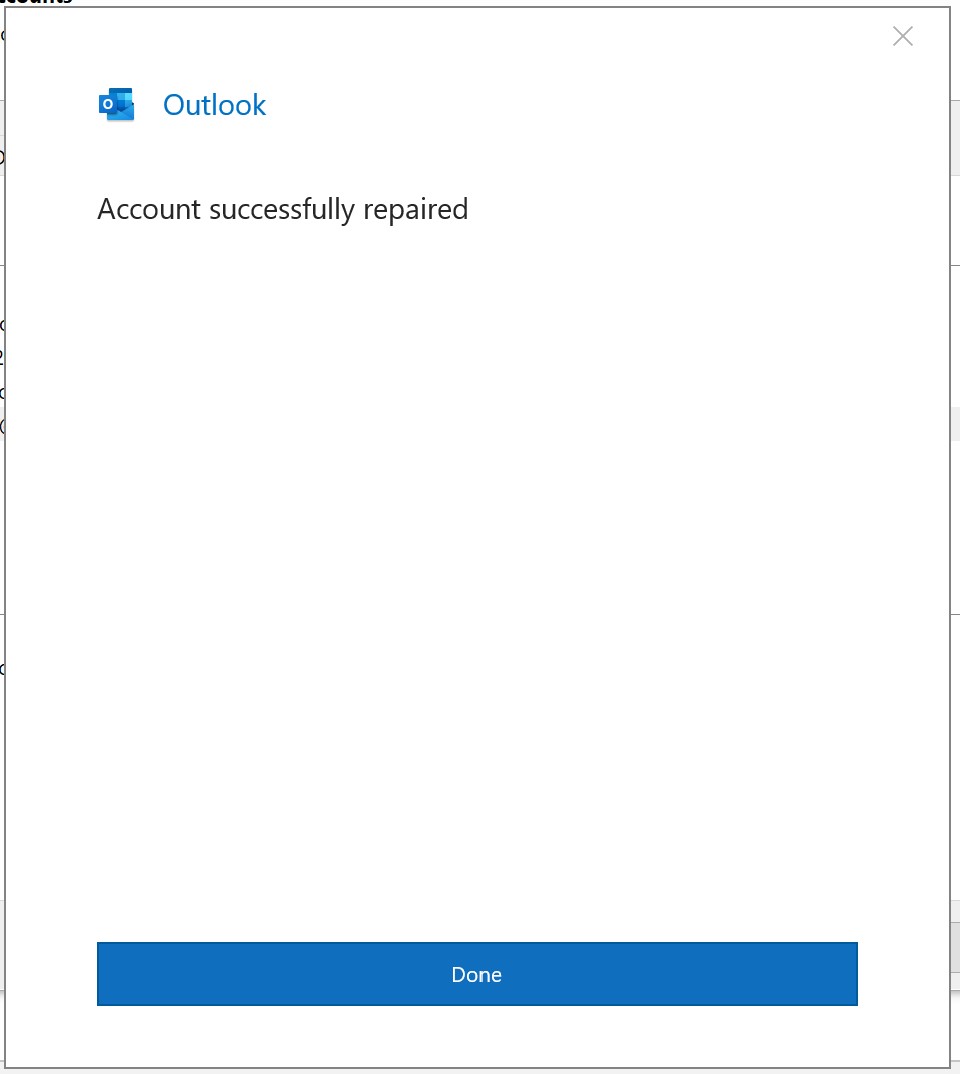
The confirmation message that the email configuration has been successful.
Control Panel Mail Settings
This option follows the older windows control panel.
Press the Windows key, together with the r key to open a popup search. enter control and click OK. The control panel summary page is shown.


From the view by option in the top right corner select icon view

Click on the Mail (Microsoft Outlook) icon

The Email Accounts view is similar to a previous step in our above sequence. although this one is monochrome.
As before click on the account to be changed and click on repair from the horizontal menu above.

The summary shown doesn’t include all of the options which we wish to configure. Select the option for Manual setup or additional server type.
Click Next

The Repair Account view shows the options for the incoming and outgoing mail servers. But doesn’t include the port numbers. click on the button for More Settings to open another window.

On this popup window select the Advanced tab and here enter the port and encryption methods required to connect to the mail servers.
This view also has the setting to determine how long to leave email on the mail server.
Click Ok.
Returning to the Repair Account view click on Next.

The entered settings are now tested. Once done click close. And then finish.
Close the still open popup configuration windows.


